If you spend any time on TikTok or Instagram looking at tattoo content, you have probably seen those viral “tattoo fail” videos. An artist places a massive, beautiful design on a client’s back, peels the paper away, and reveals a completely blurred, purple mess. The client looks nervous. The artist starts scrubbing the skin red for 20 minutes to get the ink off. It is a universal struggle in the industry. Anyone who has ever picked up a machine knows this sinking feeling.
Getting a clean, sharp tattoo stencil transfer is easily half the battle of a good session. If your lines are messy before the needle even touches the skin, your final art will suffer. Clients get anxious when they see you wipe away and reapply a design three or four times. It kills your confidence and wastes valuable appointment time. Today, we are going to walk through the exact steps, tools, and real-world techniques you need to get that perfect purple print on the skin on your very first try.
The Core Elements of a Clean Stencil Application
Before we discuss placing the design directly on your client, we must look at the tools creating the image. You simply cannot get a crisp result from a blurry source. The quality of your paper and your chosen printing method matter just as much as your physical hand technique.
Choosing Quality Thermal Materials
A huge portion of smudging issues starts before you even touch the client. Many beginners buy the cheapest paper they can find online. Low-grade thermal stencil paper holds too much excess carbon. When you try to transfer the image, that extra carbon bleeds outwards like a spilled watercolor painting.
Select trusted paper brands without fail. As you draw or print a pattern, the edges should appear distinct and clear on the reverse side of the sheet. They must not seem indistinct. A useful tip involves allowing your newly printed paper to rest for roughly 5 minutes prior to placing it on a person’s body. This short pause lets the carbon material stabilize within the transfer sheet.
Upgrading Your Printing Technology
For decades, artists relied on heavy, bulky thermal copiers that jammed easily and burned the paper. Now, the industry is moving rapidly toward wireless technology. Setting up a heavy tattoo stencil machine is becoming a thing of the past, especially for artists working in tight spaces or traveling to different conventions.
Many professionals are now switching to a pocket stencil printer. These tiny devices connect straight to your iPad or phone. For example, using a tool like the Yaba Phomemo TP31 bluetooth stencil printer completely removes the need for messy hand-tracing. You get a perfect digital copy printed in about 15 seconds. Because it uses modern thermal tech, the lines come out incredibly thin and precise, which practically eliminates the thick carbon bleeding that causes major smudging later on.

Skin Preparation is Non-Negotiable
You now hold your impeccable printout. Next, ready the human surface positioned before you. Human skin contains natural oils, moisture, and tiny layers of deceased cells. Neglecting this essential cleaning phase causes your fine violet edges to fade rapidly.
Cleaning and Shaving the Area
Never trust skin that looks clean. You have to prep it like a surgical site. First, shave the area completely, even if the client has very fine, almost invisible blonde hair. Hair creates tiny air pockets under your paper, breaking the solid lines of your design.
After shaving, wipe the skin down with green soap to remove any loose hairs. Then, hit the area with 70% isopropyl alcohol. You need to scrub it fairly hard with a paper towel. The alcohol strips away all the natural body oils. If the skin is oily, the stencil gel will just slide around instead of sinking into the pores. Wait until the alcohol is 100% dry before moving to the next step.
Applying the Transfer Gel
This is where about 90% of beginners make a fatal mistake. They use way too much transfer solution. If the skin is dripping wet, your design will look like a purple puddle.
Put a small, dime-sized drop of stencil gel on your gloved hand. Rub it into the skin vigorously. You want to spread it out until the skin just looks slightly shiny. Then, wait. Give it about 30 to 45 seconds to become tacky. If you touch the skin with the back of your glove, it should feel a little bit like the sticky side of a post-it note. If your glove slides, it is too wet. Grab a clean paper towel and lightly dab the area once to remove the excess moisture.
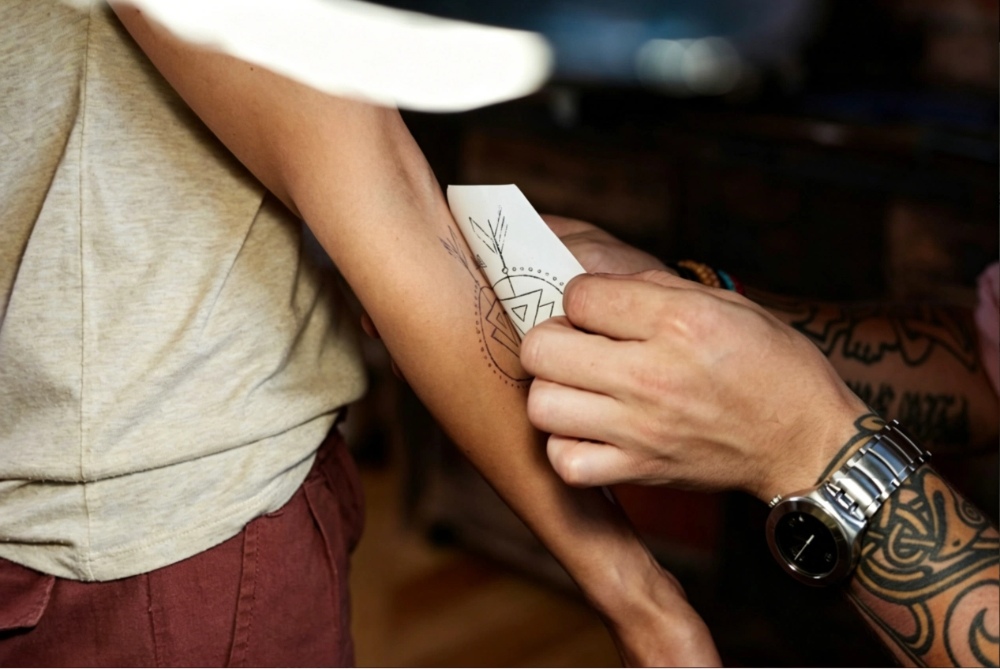
Nailing the Perfect Stencil Placement
The skin is tacky and ready. This is where most artists hold their breath. Putting the paper down requires a steady hand and a clear plan. You only get one good shot at this before you have to clean it all off and start over.
- Mark Your Guides: Do not just guess the placement. Use a surgical marker to put three small dots on the client’s skin. Match those dots up with the corners of your paper.
- The Roll Technique: Never slap the paper down flat all at once. That traps big air bubbles. Instead, touch the center of the design to the skin first. Then, use your thumbs to gently roll the paper outward toward the edges.
- Apply Firm Pressure: Once the paper is down, do not slide your hands around. Sliding causes instant smudging. Take a dry paper towel and press it firmly over the back of the stencil for about 10 seconds.
- The Peel: Pick up one bottom corner of the paper. Ask your client to take a deep breath. Slowly and steadily peel the paper away in one continuous motion.
Letting It Dry and Getting to Work
The paper is off, and the bright purple lines look absolutely amazing on the arm. But your job is not quite done yet. Rushing into the actual tattooing process right now is a massive mistake. The ink needs adequate time to fully bond with the skin surface.
The Waiting Period
Tell your client to relax, grab a drink of water, or check their phone. You need to let that purple ink dry for a minimum of 10 to 15 minutes. Some veteran artists will even wait 20 minutes for a large back piece.
During this drying time, complete the arrangement of your pigments and secure your device. Such a pause enables the transfer liquid to dissipate entirely. Consequently, it secures the violet color firmly within the outer skin layer. Attempting to clean the tattoo after merely two minutes results in removing much of your effort with the initial towel pass.
Choosing the Right Tools to Start
When you eventually apply the needle to the skin, proceed with care. Begin the tattooing from the lower right section of the pattern, assuming you use your right hand. Advance toward the upper left area. This method prevents your supporting hand from repeatedly brushing against the moist stencil edges as you proceed.
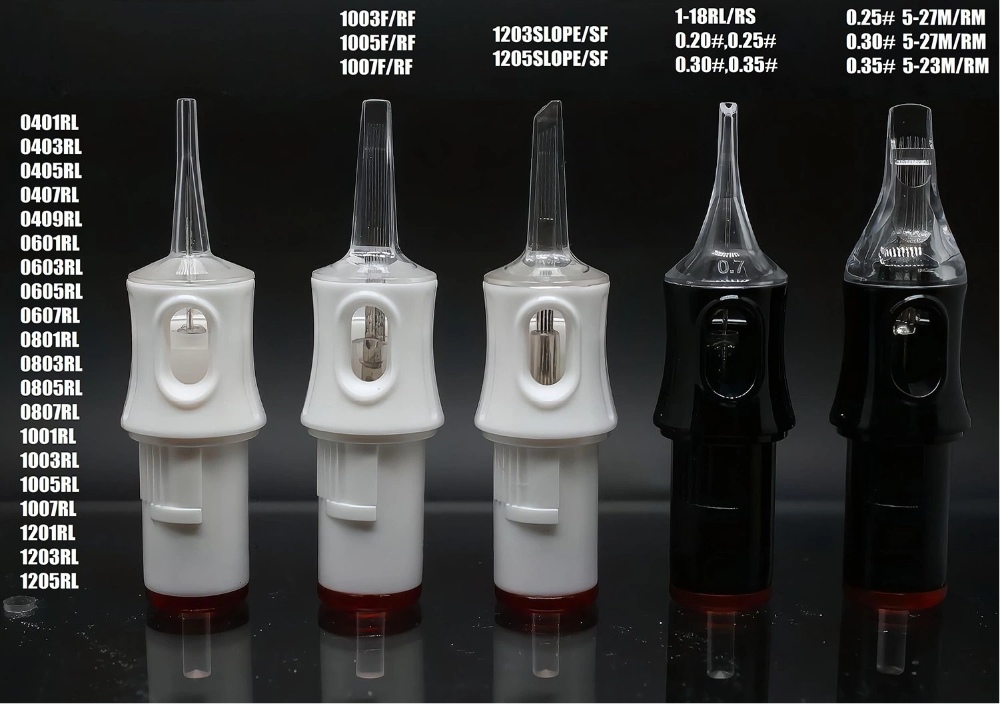
A clean transfer is only helpful if your tools are sharp enough to follow it. A proper tattoo starter kit should always include high-end needles that do not rattle or spit ink everywhere. For example, using precise tools like the Yaba Permanent Makeup Needle Cartridge allows you to drop exact lines right over your perfectly placed stencil. These cartridges have a tight internal membrane, meaning your needle hits exactly where you aim it, keeping your fine details sharp and true to your original design.
Conclusion
Developing skill in the transfer process demands effort, endurance, and repeated application on actual skin. Yet, once you refine your routine, it transforms your complete routine. You cease worrying about lines fading midway through a session. Your customers observe your poise from the outset. Through the use of excellent thermal paper, a dependable compact printer, and correct skin readiness, you prepare for an exceptional tattoo session on every occasion.
If you are looking to upgrade your studio gear, ditch the old heavy machines, and make your daily work much smoother, the team at Yaba has everything you need. Browse our full shop or contact us today to find the exact tools that will take your daily art to the next professional level.
FAQs
Q: Can I use regular computer paper in a tattoo stencil machine?
A: No, you must use high-quality thermal stencil paper to get a clean, dark transfer on human skin.
Q: How does a bluetooth stencil printer help brand new artists?
A: It removes messy hand tracing, making any basic tattoo starter kit instantly more professional and much faster.
Q: What is the main secret to perfect stencil placement?
A: Always align the design with the body’s natural curves and press firmly without sliding your hands.