Four conditions decide whether a stencil transfer holds: the print must carry enough dye to deposit, the skin must be genuinely clean and dry, the gel film must be applied inside its working window, and the set must proceed undisturbed. Failures rarely involve more than one of them, and the failure itself reports which. A stencil that never adheres was lost at the skin or the gel. A stencil that adhered and then lifted, smeared or vanished mid-session was lost to mechanics — bending, sweat, wiping. The order of investigation follows from that distinction: print, skin, gel, session.
First, Rule Out the Print Itself
A Pale Print Cannot Transfer Dark
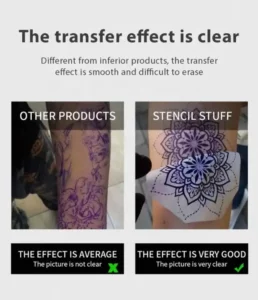
A stencil can only deposit the dye physically present on the sheet. A print that left the printer grey and broken — produced on a sagging battery, through a contaminated print head, or from artwork that was never converted to line art — transfers grey and broken, on skin prepared to any standard. Re-preparing the client’s skin cannot compensate for dye that was never on the paper.
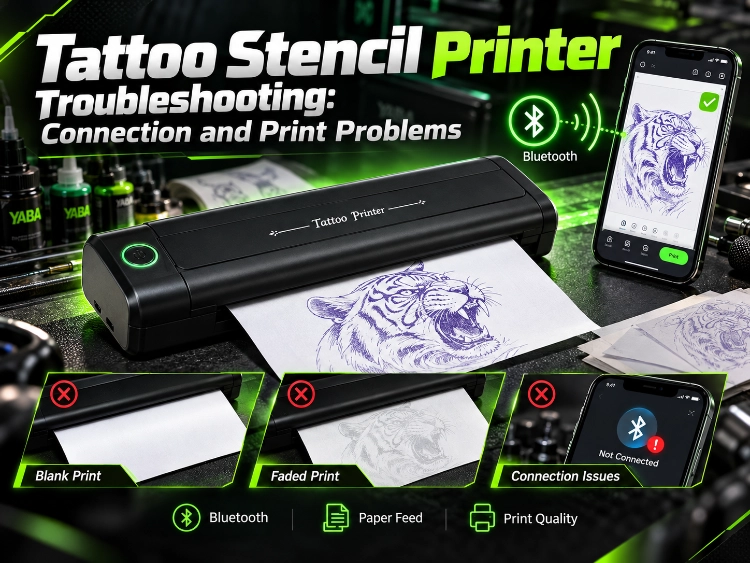
Assessment takes seconds. Before the sheet approaches the client, its lines should be solid purple-black and continuous, comparable in density to a fresh pen stroke. A sheet below that standard is a printer-side fault: connection, paper, heat and file problems are diagnosed on the printer, and no adjustment of skin or gel will recover them. Only a sheet that passes this inspection can fail for the reasons that follow.
Paper and Film Are Different Jobs
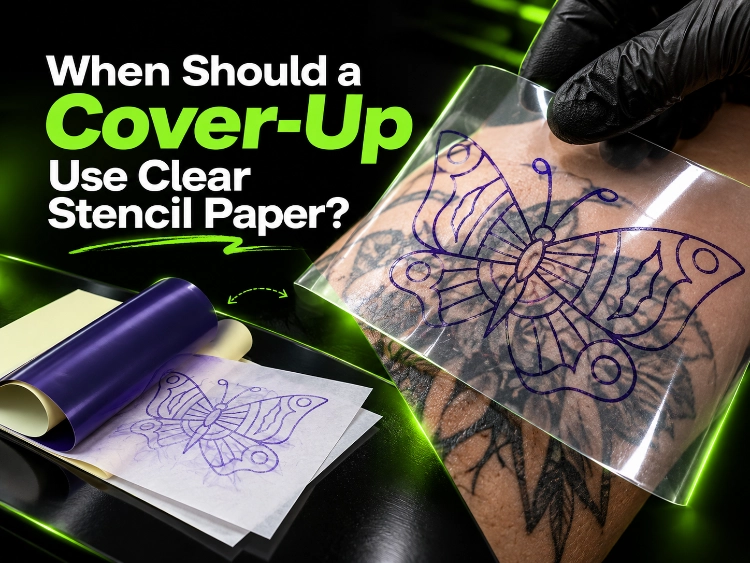
A recurring failure pattern involves placement against existing work. Standard thermal paper is opaque, so checking a cover-up stencil’s position against the tattoo beneath it requires lifting and re-pressing the sheet — and every lift spends part of the gel bond. By the fourth adjustment, the edges of an otherwise sound transfer have little adhesion left, and the failure is recorded as a sticking problem.
The sheet, not the technique, is at fault. Everyday work requires standard thermal paper; our purple dye thermal paper runs in any thermal printer and pairs with all stencil transfer creams. Placement against existing work requires transparency, which is the defined purpose of our clear stencil film: the design can be aligned over the old tattoo while it remains in contact with the skin. Selecting the sheet the placement requires eliminates this category of failure outright.
It Never Grabbed: The Transfer Failed in the First Minute
Skin That Looks Clean but Is Still Carrying Product
The most common cause of immediate non-adhesion is invisible residue. A client who moisturises daily — and in summer adds sunscreen — presents skin that looks clean and carries a continuous film of product. Transfer gel applied over that film bonds to the lotion layer rather than to the skin, and the stencil wipes away at first contact or comes off on the artist’s glove. The gel is recorded as weak; it never reached the skin.
Residue should be treated as the default condition, not the exception. Shave the area first: fine hair that escapes visual notice still lifts stencil edges and breaks fine lines. Then degrease the area thoroughly with alcohol and allow the skin to dry completely matte before gel is applied. Skin still damp from preparation dilutes the dye on contact and produces a pale, blurred transfer that is then attributed to the paper. On skin with a daily moisturising routine, a second alcohol pass is warranted. This preparation costs under a minute and determines whether the stencil survives the session.
Gel Went On Too Wet, Too Dry, or a Minute Late
Gel quantity fails at both extremes. Applied too heavily, the gel floats the sheet: the design swims as it lands, edges bleed, and the stencil can shift by a millimetre during the peel — an error that is decisive on fine script. Applied too sparingly, the sheet is wetted unevenly and the peel reveals a patchy transfer mapping exactly where the gel reached and where it did not.
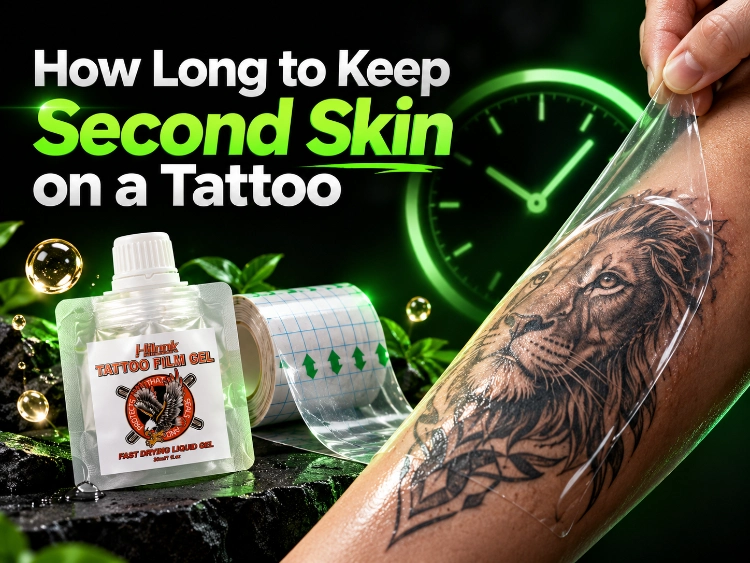
Our own usage directions for our stencil transfer gel — the clear formula supplied in 4 oz and 8 oz bottles — define the target film in four words: damp but not wet. A small amount is distributed from a gloved hand and spread evenly over the prepared area until the surface reaches precisely that state. Every gel-quantity failure observed in practice sits outside those four words, on one side or the other.
Timing is the third variable, and the most frequently violated. Between the moment its wet shine leaves and the moment its surface dries, gel holds a short tacky window. Still glossy, it lets the sheet slide. Left too long — a phone call, a consultation, a machine adjustment — it dries past usefulness and holds nothing. The sheet must be applied inside that window, judged by touch: the gel should grip a gloved knuckle without appearing wet. Applied in the window, a stencil requires only 3 to 5 seconds of pressure, followed by approximately 8 to 10 minutes of undisturbed setting. Whether a higher-strength gel improves a weak transfer is assessed separately in our transfer gel comparison; a transfer that failed on timing will not be corrected by a stronger product.
Loose and Mobile Skin Needs a Second Pair of Hands
The most difficult placements involve skin that has changed faster than the client’s tattoo plans. Following major weight loss, skin on the arms and abdomen remains loose and mobile, travelling under the sheet while it is pressed. A design placed on such skin under stretch relaxes into a different geometry when the client resumes a natural posture — a circle returns as an oval — and the bond breaks unevenly, because the surface never held still long enough to accept a uniform transfer. Standard application guidance assumes skin that remains where it is positioned, which is why this case is so poorly served by it.
The correct approach works with the movement. Apply the stencil with the body part resting in its natural position — the position it will occupy during the tattoo — rather than stretched into a pose it abandons immediately. Use a second pair of hands to hold the skin gently taut during placement and peel. On curved or loose areas, press the sheet down in sections instead of requiring it to settle over a bend in one motion. The objective is a stencil recorded on the skin as it actually rests.
It Grabbed, Then Lifted, Smeared or Vanished Mid-Session
Edges Lift First Where Skin Bends and Sweats
Mid-session lifting follows the anatomy. Elbow ditches, wrists and ribs move continuously — ribs with every breath across a multi-hour session — and flexing skin works a stencil edge loose in the same way bending releases a sticker. Sweat then collects under the raised edge and completes the separation.
The effective defence is applied before the first line: the full setting period. A transfer given its complete 8 to 10 undisturbed minutes withstands movement that destroys a transfer tattooed over after three. On joints, the long end of that window should be used, and immediately before starting, every edge should be checked with a dry gloved finger and pressed down where lifting has begun. The registration dots in the standard application sequence earn their place here: the full sequence, from preparation to peel, is documented in our stencil transfer routine, and a faded section can be rebuilt accurately against those marks rather than against the artist’s memory.
Wiping Direction and Ointment Decide the Last Hour
A stencil that disappears twenty minutes into a session has usually been removed by technique rather than by any product failure. A wipe dragged across the lines scrubs dye laterally off the skin, a fraction with every pass; the same wipe drawn along the lines, or blotted vertically and lifted clean, leaves the design intact. Sustained cross-wiping functions as a slow eraser.
Working order determines how much of the design the artist’s own hand reaches. Beginning away from the point where the glove hand anchors, and tattooing toward it, prevents the heel of the resting hand from spending the session polishing the stencil. Ointment application is equally decisive: petroleum-based ointment floats stencil dye, so a generous layer spread across the whole piece loosens everything beneath it, while a thin film confined to the section being worked leaves the remaining design undisturbed. In the majority of reported mid-session failures, the evidence points to one of these three habits — not to the gel.
When a Failing Stencil Can Be Saved and When to Start Over
Two distinct judgements are required here, and conflating them is costly. A stencil that remains substantially intact — one faded section, one lifted corner — can be saved in place: allow the skin to dry, then rebuild the missing lines with a skin-safe surgical marker, using the surviving stencil as its own reference. The session proceeds without interruption.
A stencil that smeared on application, lifted patchily across its whole area, or shifted during placement cannot be patched to accuracy, and lining over an estimate costs more than a redo. Strip it completely with alcohol and allow the skin to dry fully before a fresh sheet is applied; gel placed over damp, dye-stained skin reproduces the original failure. Align the new sheet to the design’s landmarks, not to the faint purple trace left by removal, because that trace marks where the failed stencil had already drifted. One attempted repair should be avoided in all cases: brushing fresh gel over a partially lifted stencil to re-secure it. The dried film beneath seals the new gel off from the skin entirely, and the patch releases faster than the original transfer did.
Conclusión
Print density, bare skin, a gel film inside its window, and a full setting period: the four conditions are individually simple and jointly unforgiving, and every failed transfer in practice traces to one of them. Reading the failure correctly — by when it happened and what it looks like — identifies the condition before any product is changed. That is the standard we apply at A pesar de to our own consumables: paper, film and gel specified against the conditions they will actually meet, with application parameters published rather than implied.
When a transfer fails in a pattern not covered here, the details that matter are the placement site, the paper or film in use, and the stage at which the failure appeared. Reports carrying those specifics are the ones that improve the next revision of both the products and this guidance.
Preguntas frecuentes
Q1: Why does my stencil stick to my glove instead of the client’s skin?
A1: At the moment of contact, the glove presented the gel with a better bonding surface than the skin did — either because the gel film was still wet and glossy, or because the skin beneath it remained damp from preparation. Wait for the tacky window, when the shine has gone and the gel grips a knuckle, and allow alcohol preparation to dry fully matte before applying gel.
Q2: How long should a stencil set before I start tattooing?
A2: With our stencil stuff, the sheet is held against the skin for 3 to 5 seconds, removed, and the transfer then sets for approximately 8 to 10 minutes before work begins. The long end of that window should be used on joints and in humid rooms; a stencil tattooed over after three minutes is the stencil that lifts during the second pass.
Q3: Can I brush fresh gel over a stencil that has started lifting?
A3: No. The dried film beneath the stencil seals fresh gel off from the skin, so the attempted repair bonds to old gel rather than to skin and releases sooner than the original did. A substantially intact stencil should be rebuilt with a marker; a smeared or shifted one should be stripped and reapplied on dry skin.