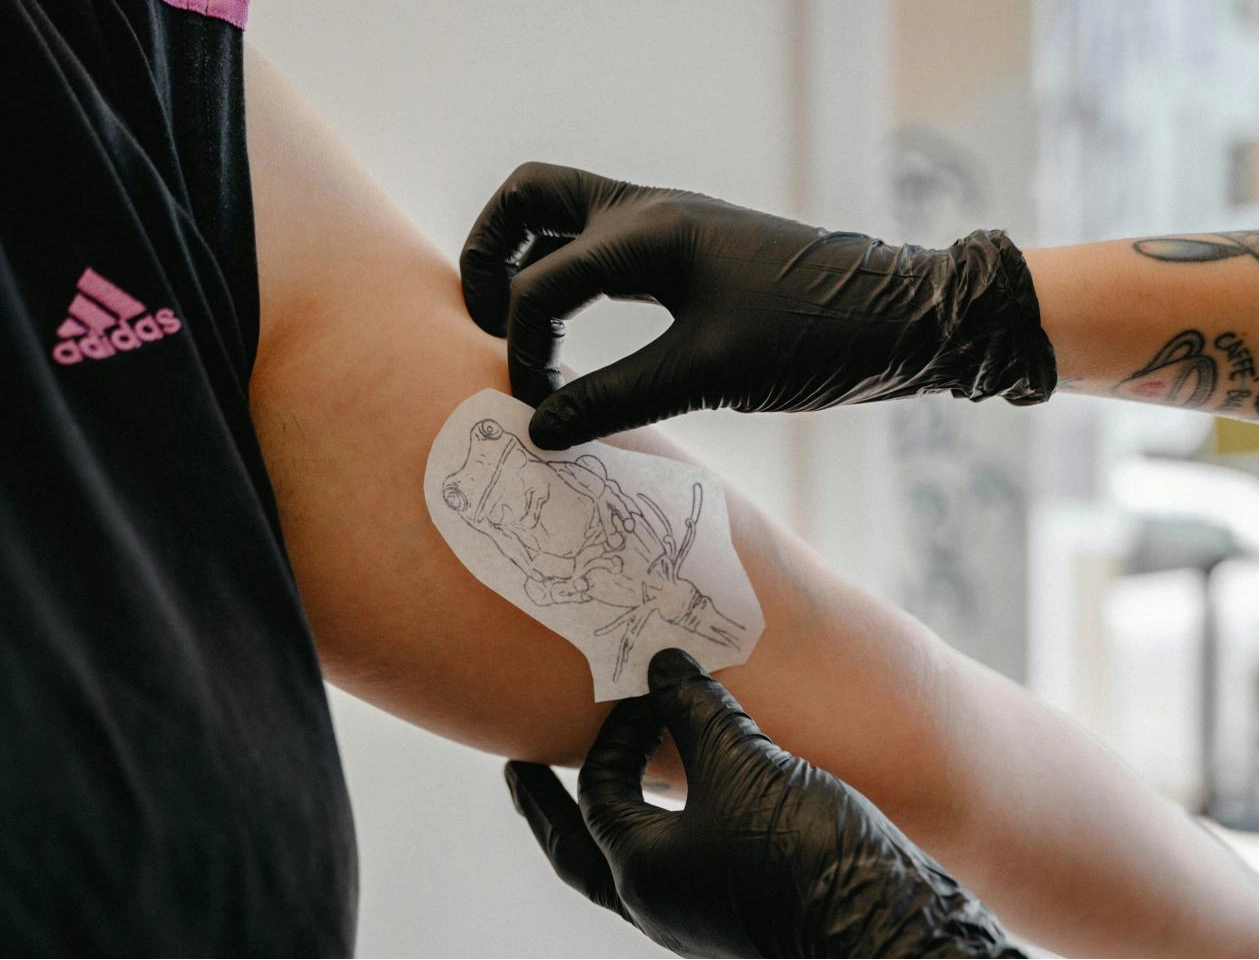
Your client sits in the chair, and you just spent five careful minutes lining up a complex geometric piece on their forearm. You peel the paper back, and the purple transfer looks incredibly sharp. Because it is a highly detailed piece, you tell the client to sit still for 20 minutes so the lines can air dry. You want that purple map to survive a heavy five-hour session.
Then, the client stands up, walks over to the full-length wall mirror, and twists their arm to look at the placement. They turn back to you and quietly ask, “Actually, can we move it about an inch higher?”
Your spirits sink right away. The solution is no longer moist. It has fully attached to their skin. Attempting to correct a positioning error at this point ranks among the most aggravating experiences for any tattoo professional. If you manage this issue badly, you risk leaving the customer with an irritated, sore area of skin even before connecting your equipment to power. Let us examine precisely what occurs when that violet substance hardens, and discover how you can rescue the session without inflicting needless discomfort or harming the skin.
The Problem with Purple Ink on the Body
Every professional artist knows that high-quality transfer products are formulated specifically to survive a massive beating. They have to withstand hours of constant friction, thick soapy liquids, and blood. So, when you suddenly realize you have a misplaced tattoo stencil that has fully set, you are fighting against the exact chemical bonds that are supposed to help you. You have to figure out how to break those strong bonds without completely destroying your living canvas in the process.
Why Time Works Against You
As you initially apply the transfer solution to the skin, it serves as a fluid connector. It draws the deep violet carbon material from your sheet and deposits it straight into the tiny surface openings of the outer layer. In the initial two or three minutes, that solution remains damp and smooth. If you spot an error promptly, you can often simply remove it with a moist cloth and begin anew.
Yet, once 15 to 20 minutes elapse, the liquid and alcohol components in the solution vaporize fully into the atmosphere. The dense material becomes fixed enduringly within the parched skin layers. This solid attachment proves excellent for the real tattoo process, but it poses a major hurdle for quick changes. The more time your customer spends gazing at the incorrect position in the mirror, the tougher it grows to erase the hardened stencil marks afterward.
The Danger of Aggressive Scrubbing
When an artist feels rushed, their first instinct is usually to grab a dry paper towel, push down hard on the arm, and scrub violently. This is the absolute worst approach you can take. Human skin is incredibly delicate, especially on sensitive areas like the inner bicep, the neck, or the ribs. If you press hard and drag rough paper repeatedly across the body, you create thousands of invisible micro-abrasions.
The skin will immediately flush dark red and begin to swell. Once the canvas area is swollen, it becomes tight and physically rejects your actual tattoo ink later on. You will find yourself turning up your machine voltage and pushing your needles deeper just to force the black ink to stay in the skin. This causes heavy scabbing during the healing phase and ultimately ruins the final healed look of your artwork. Furthermore, tattooing over angry, red skin is incredibly painful for the client.
Common Mistakes When Trying to Fix the Position
When faced with a stubborn purple outline that refuses to move, many people simply grab the first bottle of clear liquid they see sitting on their workstation tray. This desperate reaction usually makes the situation much worse, turning a sharp outline into a massive, blurry purple cloud. Let us look at the liquids you should avoid using.
- Straight Isopropyl Alcohol: Many shops keep cheap spray bottles of 70% or 90% rubbing alcohol handy. While heavy alcohol does break down the purple dye eventually, it also aggressively strips away all the natural moisture and protective oils from the human body. Spraying raw alcohol on a large back piece and rubbing it will make the client feel like their skin is burning. It leaves the surface dry, tight, and very difficult to stretch while working.
- Standard Green Soap: This liquid is a staple in literally every shop on earth, but it is fundamentally the wrong tool for this specific job. Green soap is designed to gently clean away biological matter like blood and clear plasma during the actual needle procedure. It simply does not have the chemical strength to break down transfer glue. You will end up scrubbing for ten straight minutes and still have a faint purple ghost image left behind.
- Drugstore Hand Sanitizer: A widespread online suggestion entails applying dense hand sanitizer over the misplaced marks. While the alcohol element may slightly blur the material, store-bought sanitizers contain synthetic scents, dense agents, and hydrating components. These additional substances deposit a sticky, unseen layer on the arm that hinders your follow-up sheet from adhering correctly.
Safe Methods to Fix a Bad Transfer
You need a dedicated chemical agent that actually targets and breaks down the heavy purple dye instantly. You cannot rely on basic cleaning supplies to remove the stencil from the skin if you want the client to stay completely comfortable. Finding the right balance between fast cleaning power and gentle skin care changes your entire approach to everyday studio mistakes.
Applying the Right Solution
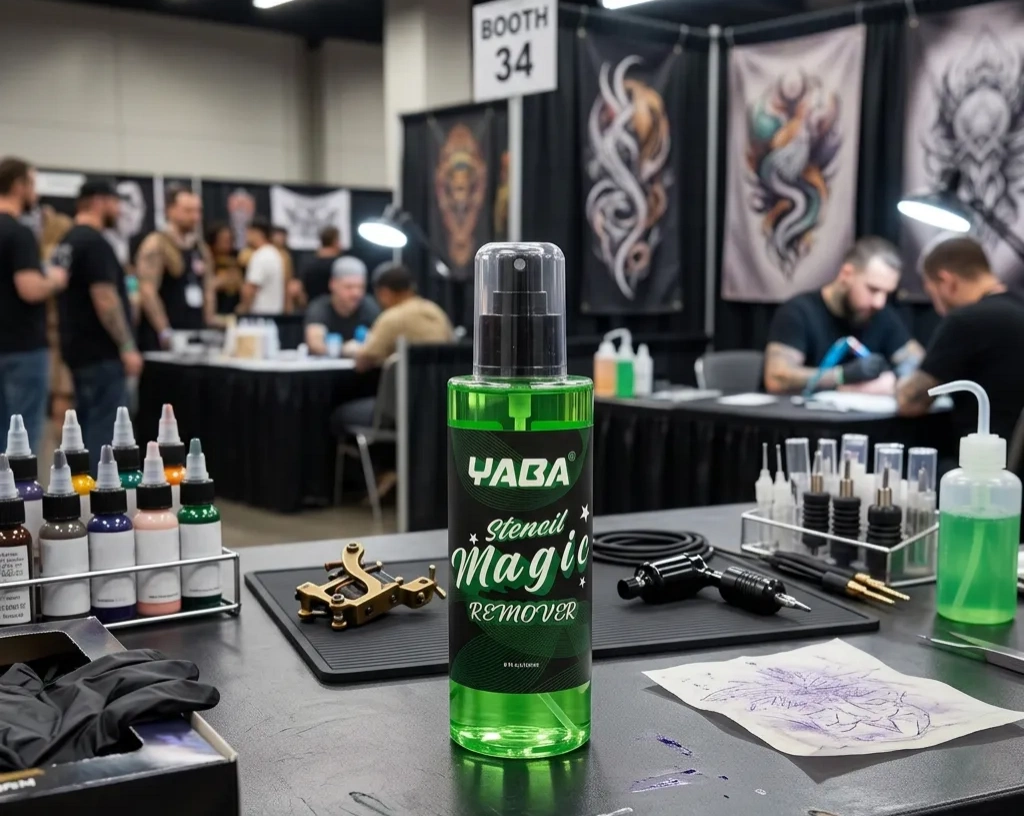
The absolute best route is keeping a purpose-built product sitting right on your tray. Instead of fighting the ink with physical force, you want to dissolve it chemically. Using a dedicated tattoo stencil remover changes the daily game completely.
When the client asks to move the design, do not sigh or panic. Simply take your remover bottle and spray a generous amount directly over the dried purple lines. Do not touch it or wipe it immediately. The biggest secret is letting the liquid do the heavy lifting for you. Let it sit on the surface for about 10 to 15 seconds. If you watch closely, you will actually see the dark purple lines start to separate and float up into the clear liquid.
The Correct Wiping Technique
Once the liquid has broken down the chemical bonds, the way you touch the skin matters immensely. Never scrub in a wild, circular motion. If you scrub in circles, you just push the floating purple dye back into the surrounding clean pores, staining the whole arm purple.
Instead, take a clean, thick paper towel and fold it flat to create a straight edge. Press it gently against the wet area to absorb the bulk of the liquid. Then, do one firm, straight swipe downward to wipe off tattoo stencil ink. If there is a faint shadow left behind, do not reuse the purple side of your towel. Flip it to a completely clean white side, spray a tiny bit more remover, and do one more straight swipe.
Preparing the Area for a Second Try
Once you successfully erase tattoo stencil marks and the skin looks completely blank again, your job is still not over. The human body reacts poorly to constant chemical washing and physical rubbing. You cannot just slap another layer of wet transfer gel down immediately, or the second attempt will blur and fail instantly.
Letting the Skin Breathe
After using any removal product, the skin needs a brief intermission to calm down. Wipe the entire area down gently with a damp paper towel just to neutralize any leftover liquid. Then, tell the client to take a quick five-minute break. Let them stand up, grab some water, or check their phone.
This five-minute pause is a critical step. It allows the open pores to close back up and gives the skin time to return to its normal resting temperature. If the skin is still warm and slightly flushed from the wiping process, your new layer of gel will melt upon contact and bleed outward.
Re-applying the Gel
As the customer returns to the seat and you prepare for another attempt, keep in mind that the skin has endured a chemical rinse. It may feel a bit drier than it did 30 minutes earlier. This time, spread your transfer solution quite lightly. A slim sheet suffices.
Position your updated sheet design with care, push it down steadily without shifting your fingers, and remove it. Since you invested effort in thoroughly preparing the surface and granting it recovery time, the fresh marks will emerge equally precise, neat, and bright as your initial try.
Conclusion
Dealing with misplaced artwork is a completely normal part of the body art process. Clients change their minds, and sometimes natural muscles twist the design in unexpected ways once they stand up. The difference between a highly stressful morning and a smooth, professional session comes down to how you handle those small setbacks. Trying to violently scrub away set ink with harsh chemicals only damages the canvas, creates bleeding, and hurts your client. By keeping professional removal products right at your station and using patient, straightforward wiping techniques, you keep the skin calm and ready for the needle. Take your time, use the right liquids, and your final healed results will speak for themselves. If you need reliable supplies to upgrade your daily setup, contact Yaba today.
FAQs
Q: Can I just use green soap to remove dried tattoo stencil?
A: No, green soap is far too weak for set ink. It requires heavy physical scrubbing, which irritates the skin quickly.
Q: Will a dedicated tattoo stencil remover burn my client’s skin?
A: A professional remover is specially formulated to dissolve heavy ink gently without burning or drying out the surface.
Q: How do I wipe off a tattoo stencil without leaving a giant purple stain?
A: Spray the remover, wait 15 seconds, and use one single, straight downward swipe with a clean folded paper towel.