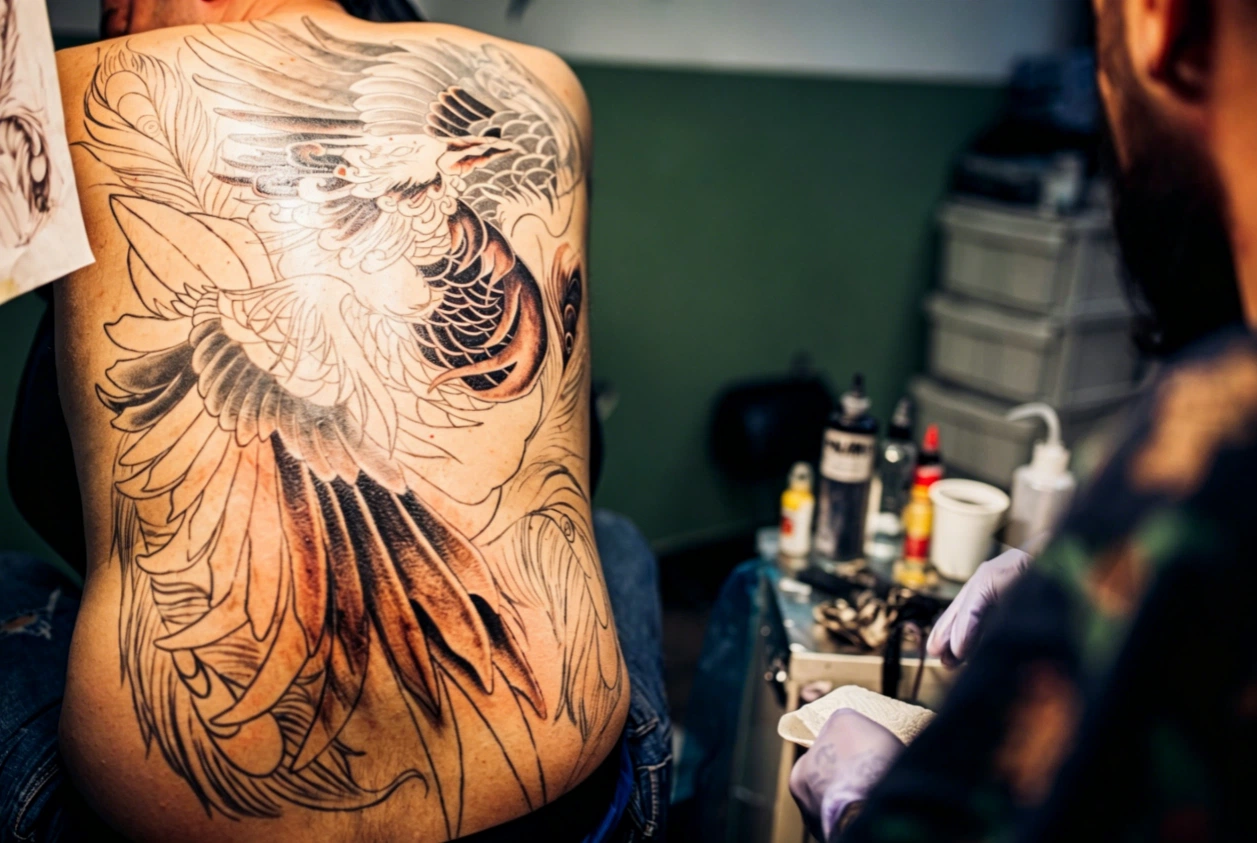
If you scroll through Instagram or TikTok lately, you will notice a massive shift in what clients are asking for. While tiny finger dots and minimalist lines still pay the daily bills, a huge wave of people are now committing to massive, full-body artwork. We are talking about heavy Japanese body suits, giant geometric mandalas spreading across the ribs, and highly detailed realism covering the entire spine. Doing a back piece tattoo is an incredible milestone for any artist. However, any professional who has taken on these giant projects knows the real nightmare begins long before the machine even turns on.
Getting a perfectly proportioned design onto a breathing, moving human body is hands-down the most frustrating part of the day. If you have ever spent two hours sitting at a front desk, carefully cutting the margins off regular letter-sized sheets and taping them together like a fragile jigsaw puzzle, you know exactly what I mean. Today, we will break down how top artists bypass the headache of paper puzzles and get right to the actual drawing process.
The Reality of Working with Standard Equipment
Most artists start their careers using whatever basic equipment they can afford, which usually means printing on standard 8.5 by 11-inch sheets. While this setup works flawlessly for a traditional rose on a forearm, it quickly turns into a disaster when you try to cover an entire human torso.
The Problem with Splicing Pages
Creating a large tattoo stencil the old-fashioned way forces you to divide your digital drawing across six or even eight separate sheets of paper. You then have to line up the edges perfectly and tape them together. This leaves a massive margin for error. If you overlap two sheets by just 2 millimeters, the client’s geometric pattern or portrait face will look completely warped. Furthermore, adding layers of scotch tape makes the paper rigid. When you try to wrap this stiff, taped-up monster over the natural curves of the shoulders and ribs, the paper buckles. It creates empty air pockets where the purple ink completely fails to touch the skin.
The Cost of Wasted Studio Time
Time is literally money in this industry. Most professionals charge anywhere from $100 to $200 an hour. Spending 45 minutes trying to place a giant paper grid, realizing it sits crooked, and having to wipe it off costs you billable hours. It also hurts the client. Wiping a huge area with harsh rubbing alcohol multiple times makes the skin red, angry, and sensitive before you even pick up your machine. The client sits there shivering, and you start a heavy 7-hour session feeling frustrated and behind schedule.
Hardware Upgrades for Massive Body Art
When you finally decide to stop fighting with scissors and sticky tape, upgrading your physical machines changes your entire daily workflow. Having the capacity to print massive designs in a single pass completely removes the anxiety of perfectly aligning complicated grids on a breathing human body.
Moving to a Larger Format Printer
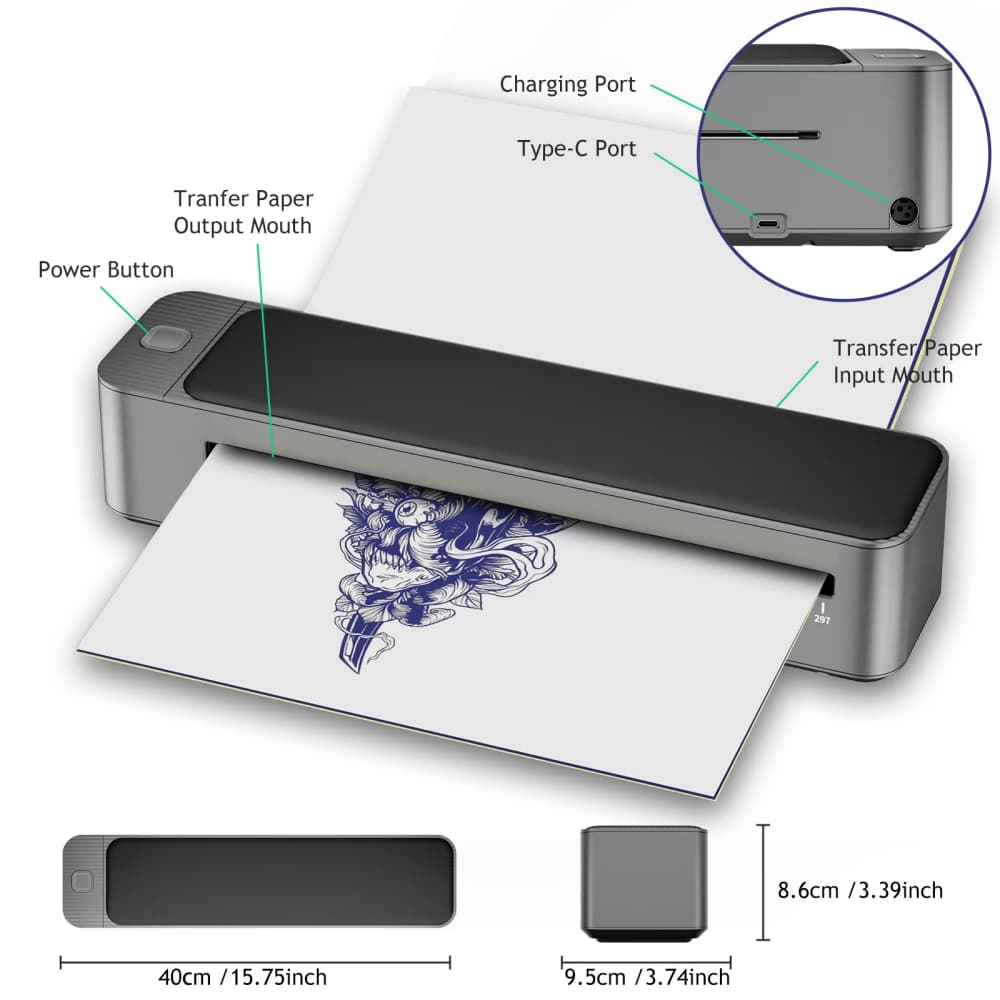
The single biggest upgrade you can make for giant projects is investing in an A3 stencil printer. A3 size measures roughly 11.7 by 16.5 inches. For many clients, one single sheet is enough to cover the whole upper back or a full outer thigh. You just send your drawing straight from your iPad, and it prints out continuously. If you are tired of taping paper, looking into the Yaba Newest A3 Stencil Thermal Transfer Printer will save you endless headaches. It delivers dark, unbroken lines across a massive surface area in seconds, letting you focus on the art instead of arts and crafts.
Why Your Paper Quality Matters
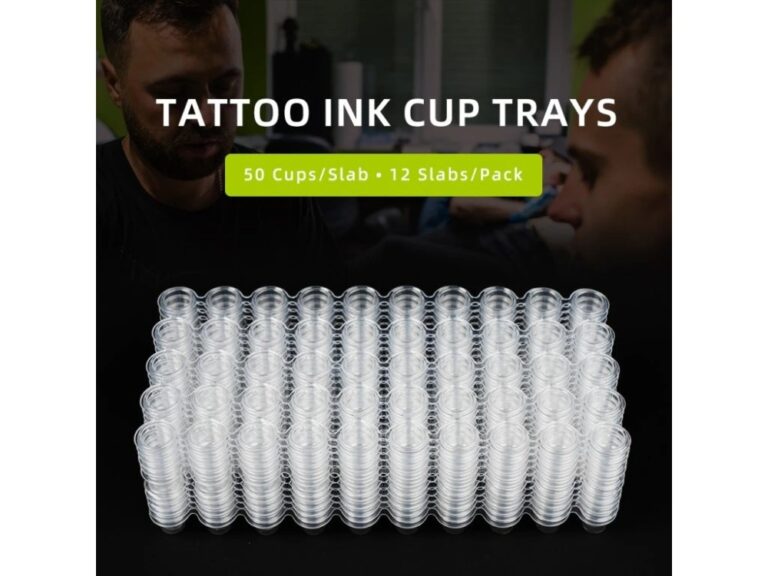
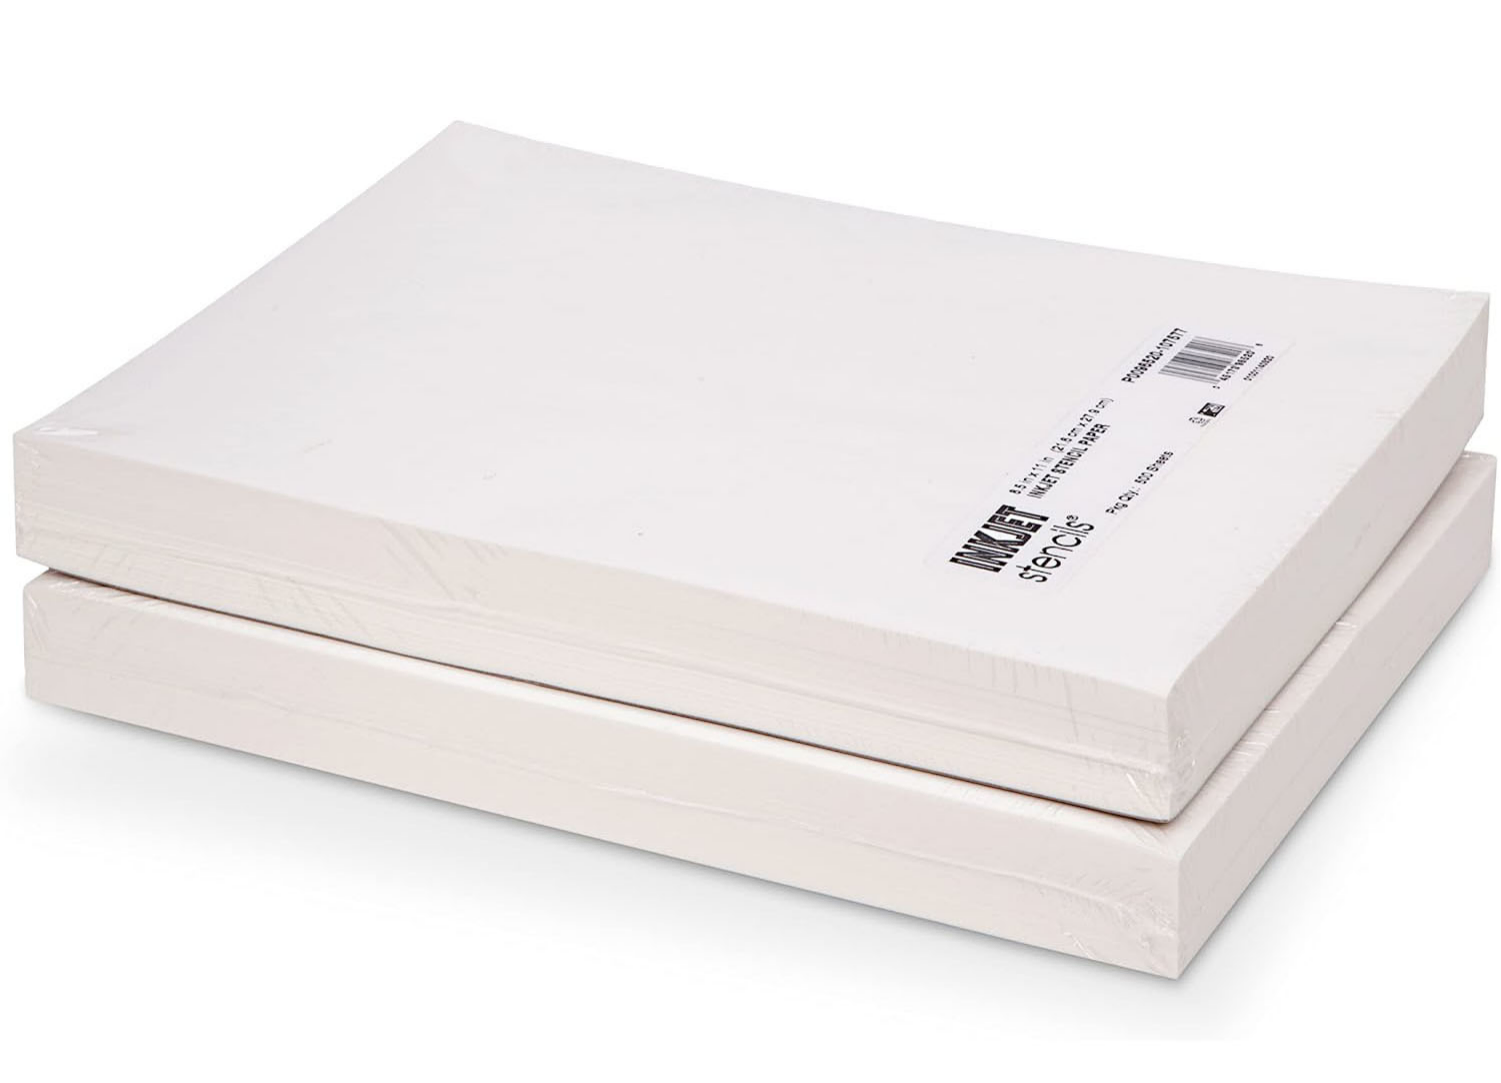
A high-end machine is completely useless if you feed it cheap supplies. Cheap paper wrinkles the moment it touches damp skin and leaves patchy lines. You need reliable tattoo stencil paper that holds heavy ink and does not tear when you pull it off the body. You also have to match the paper to your specific machine. If you run a high-resolution inkjet system instead of a standard thermal tattoo printer, you must use paper built to absorb liquid ink. Grabbing a pack of Inkjet Stencil Paper 500 Sheet gives you a massive supply of strong material that captures every single tiny dot and texture from your original digital drawing. You can browse other trusted options in a dedicated tattoo stencil category to find exactly what fits your setup.
Steps for a Flawless Application on the Back
Applying a full back stencil requires a solid, practiced strategy. You cannot just slap a giant sheet of wet paper onto someone’s spine and hope for the best. Here are the exact steps working professionals follow to get flawless placement on such a large, curved canvas.
- Strip the Skin Down: Hair and natural body oils are your worst enemies. Shave the entire area thoroughly, even if you cannot see visible hair. Wash the whole back with green soap, and then scrub it down heavily with 70% isopropyl alcohol to remove all surface oils.
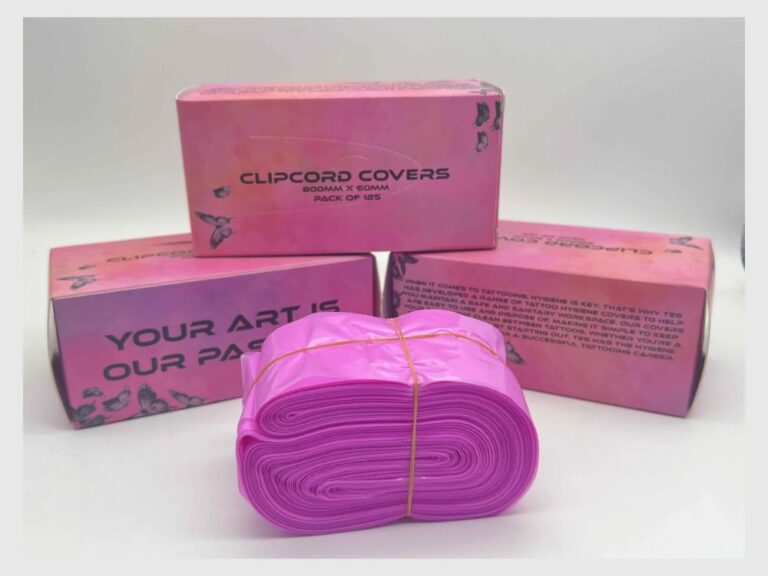
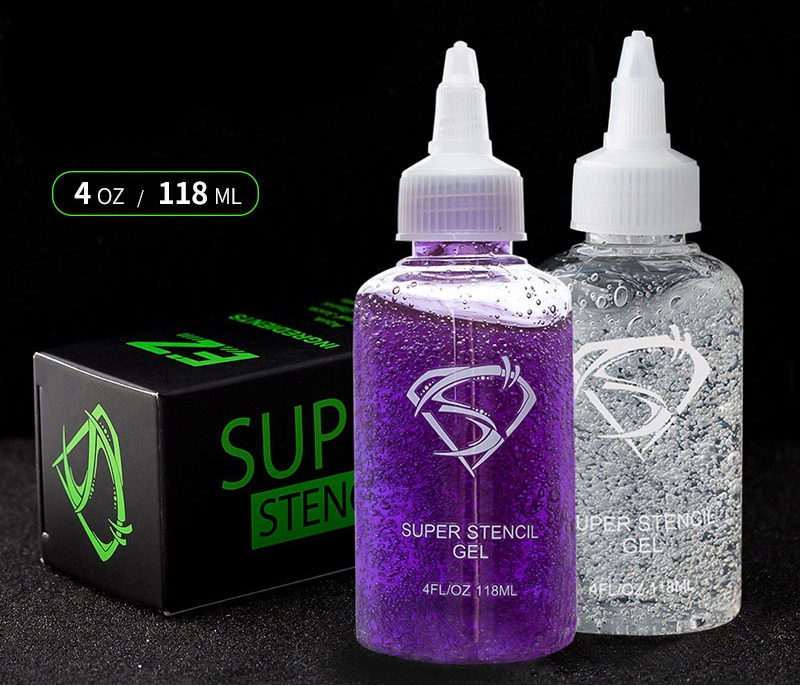
- Pick the Right Medium: Do not use cheap drugstore deodorants for a 16-inch design. Use a professional-grade product like the Yaba Transparent Clear Transfer Gel 120ml. Because the gel is completely clear, you can easily spot moles, acne, or scars on the client’s back and adjust your paper placement to avoid them.
- The Center-Out Roll: Have your client stand naturally with their arms resting down. Stick the very center line of your paper directly down their spine first. Then, use your hands to gently push and smooth the paper outward toward their ribs. This motion forces all the trapped air bubbles out to the sides.
- The Careful Peel: Wait about 10 to 15 seconds. Grab the bottom left or right corner of the paper and slowly peel it upward at a diagonal angle.
Keeping the Purple Lines Alive During Long Sessions
Getting the crisp purple outline onto the skin is only half the battle. You now have to protect those delicate lines for a heavy 6 to 8-hour session. If you wash away your map in the very first hour, you will be flying blind for the rest of the day.
Master Your Wiping Technique
The way you clean the skin while working dictates how long your outline survives. Most beginners grab a wet paper towel and drag it hard across the skin to remove excess black ink. This harsh dragging motion acts like sandpaper against the purple transfer. Instead, fold your paper towel and dab the skin firmly. Just press down and lift up. Also, rub a tiny amount of petroleum jelly or glide ointment over the areas of the outline you are not currently working on. This creates a temporary waterproof shield that repels green soap and blood.
Always Work From the Bottom Up
Simple gravity and body mechanics play a huge role in giant projects. You should always start your linework at the very bottom of the design near the waistline and slowly work your way up to the shoulders. Why? Because your stretched hand naturally rests below the machine. If you start at the top of the neck, your sweaty palm will constantly rub against the un-tattooed lines below you for hours. Starting at the bottom means your hands only touch skin that is already finished, protecting the fragile tattoo stencil transfer waiting above you.
Conclusion
Tackling a massive body suit or a full back design should be one of the most exciting days in your studio, not a stressful battle against tape and misaligned paper. By ditching the old splicing methods and upgrading to larger format tools, you instantly cut out the most frustrating part of the preparation phase. Better hardware and high-quality transfer gels give you clear, reliable lines that actually survive a heavy all-day session. Your clients stay comfortable, and you get to spend your energy actually putting ink into the skin. If you want to streamline your daily studio workflow and stop fighting with tiny sheets of paper, contact the team at Yaba. We have the exact tools you need to create your next masterpiece.
FAQs
Q: What is the fastest way to make a full back stencil?
A: Upgrading to an A3 stencil printer allows you to print massive designs instantly without cutting and taping pages.
Q: Why does my large tattoo stencil wipe away so fast?
A: You probably started too soon. Let the tattoo stencil transfer dry completely for 15 minutes before touching it.
Q: Can I use a regular thermal tattoo printer for big art?
A: Yes, but you must splice multiple pages together, which often leads to frustrating alignment mistakes and warped designs.