Tattooing requires careful precision, steady patience, and ongoing persistence. For those just starting as artists, a basic tattoo kit offers more than simple tools, and it acts as the key practice area. There, you develop muscle memory, better hand control, and solid techniques. You build these basics on fake skin first. Only then do you move to real skin, and this method keeps clients safe. It also maintains the true quality of your art. A planned way of practicing cuts down on mistakes, and it stops you from overworking the skin too much. Plus, it helps grow your confidence step by step.
What’s Inside a Beginner Tattoo Kit and Why Each Component Counts
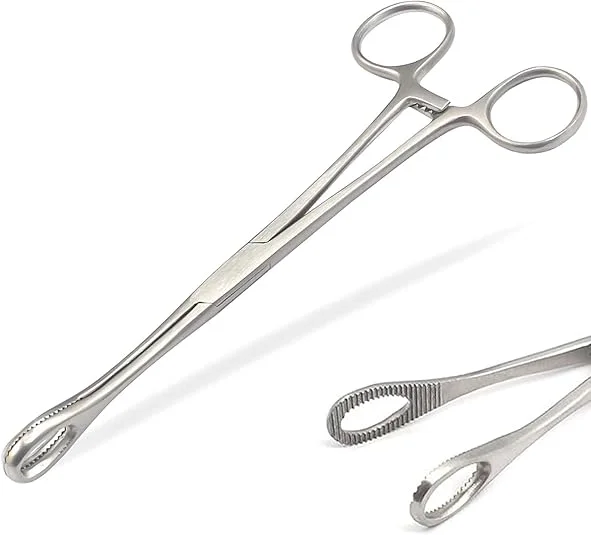
Typical beginner kits come with key items. These include a tattoo machine, which could be rotary or pen-style. You also get a power supply, different needle cartridges, ink, and synthetic practice skin. Every tool plays its own important role in your training. The machine helps you get used to the vibration, and it teaches you the right way to hold and grip it. The needles let you work on depth and how much pressure to apply. Meanwhile, the synthetic skin gives a feel similar to actual skin resistance. The overall quality of these parts matters a lot, and their compatibility affects how well you learn. So, pick equipment that matches well and works reliably.
How Should You Set Up Your Tattoo Workspace?
Once you have your tools ready and spread out, the space where you use them turns into a big deal. A serious attitude starts with a proper environment, even just for practice. From the very first day, setting up correctly builds good routines, and these routines focus on safety, smooth work, and clear artistic concentration.
Here’s How to Create a Clean and Professional Setup Even for Practice
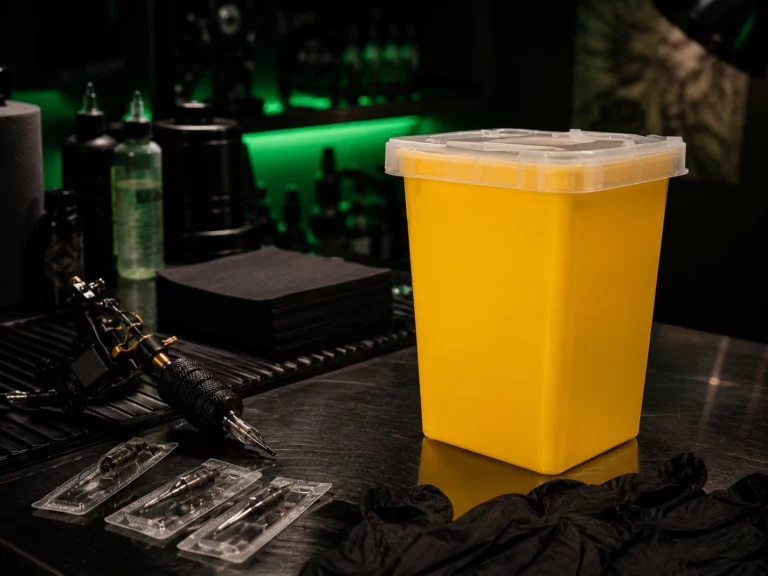
Even though you’re working on fake skin, making a hygienic workspace is essential. Put disposable covers on your machine and grips to keep things clean. Wipe down all surfaces with disinfectant right before each session begins. Arrange your gear so you can move easily without hassle. Good lighting helps you see details clearly. Fresh ventilation cuts down on tiredness during long sessions. When you start with a tidy setup, it creates habits that fit perfectly in real tattoo studios later on.
What Are the Critical Steps in Preparing Your Tattoo Equipment?
Putting your gear together the right way makes sure the machine runs smoothly as expected, and you always need to line up the needle cartridge with the setup you want. For example, use liners to get sharp lines. Or pick magnums when you want to shade. Make certain it clicks in firmly and stays secure. Next, tweak the voltage to fit the needle type and the fake skin you’re using. Begin with a lower setting for lining work, say about 6V, and then raise it if necessary for shading tasks. Before you dive into any design, test the machine on practice skin, and this step is absolutely required to avoid issues.
How Can You Practice Tattoo Techniques on Fake Skin?
With your area prepared and tools adjusted just right, you now reach the main part of your learning path: the practice skin itself. How good this material is, along with your method of using it, will shape your skills directly. Below, find ways to make the most out of every practice time you spend.
Which Fake Skin Type Offers the Most Realistic Training Experience?
The level of realism in practice plays a huge role in how you improve. Materials made from silicone, like the YABA Tattoo A4 0.3MM Silicone Fake Skin, give a surface that feels a lot like human skin in texture. Because of that, they work great for copying the way needles push through and how colors soak in. Sheets that are thicker let you go deeper with the needle, and this proves helpful when you train on shading or packing in colors. By choosing skins with different thicknesses, you can mimic various body parts and skin conditions that you’ll face in real work.
What Exercises Build Linework Accuracy and Depth Control?
Begin with simple tasks such as drawing straight lines, gentle curves, and even shapes that match on both sides. Keep your hand moving at a steady speed. Apply consistent pressure. And control the needle depth throughout each line you make. Tools designed for specific work, like YABA’s Ball Point Cartridge for Tattoo Beginner Dotwork Tools, assist in sharpening your dotwork and fine details, and these let new learners practice without wasting ink or harming the materials too soon.
How to Improve Shading and Color Saturation Techniques?
Try out various needle setups, such as round shaders compared to magnums, right on your practice area. See how they change the way ink covers and how smooth the gradients turn out. If you change your hand speed or the way you move, it alters how the ink sinks into the surface. Work on shifting from slow strokes to quicker ones, and this mimics the real methods used in shading. When you get smooth blends without causing too much damage, you’re ready for more detailed color jobs down the line.
Can Technology Help Accelerate Tattoo Practice Progress?
Traditional exercises certainly strengthen your hand skills over time. However, newer tools can make your routine smoother and give you useful insights right away. When you add tech into your daily practice, it boosts accuracy, and it keeps your designs true to form. And it shares tips that quicken how fast you learn overall.
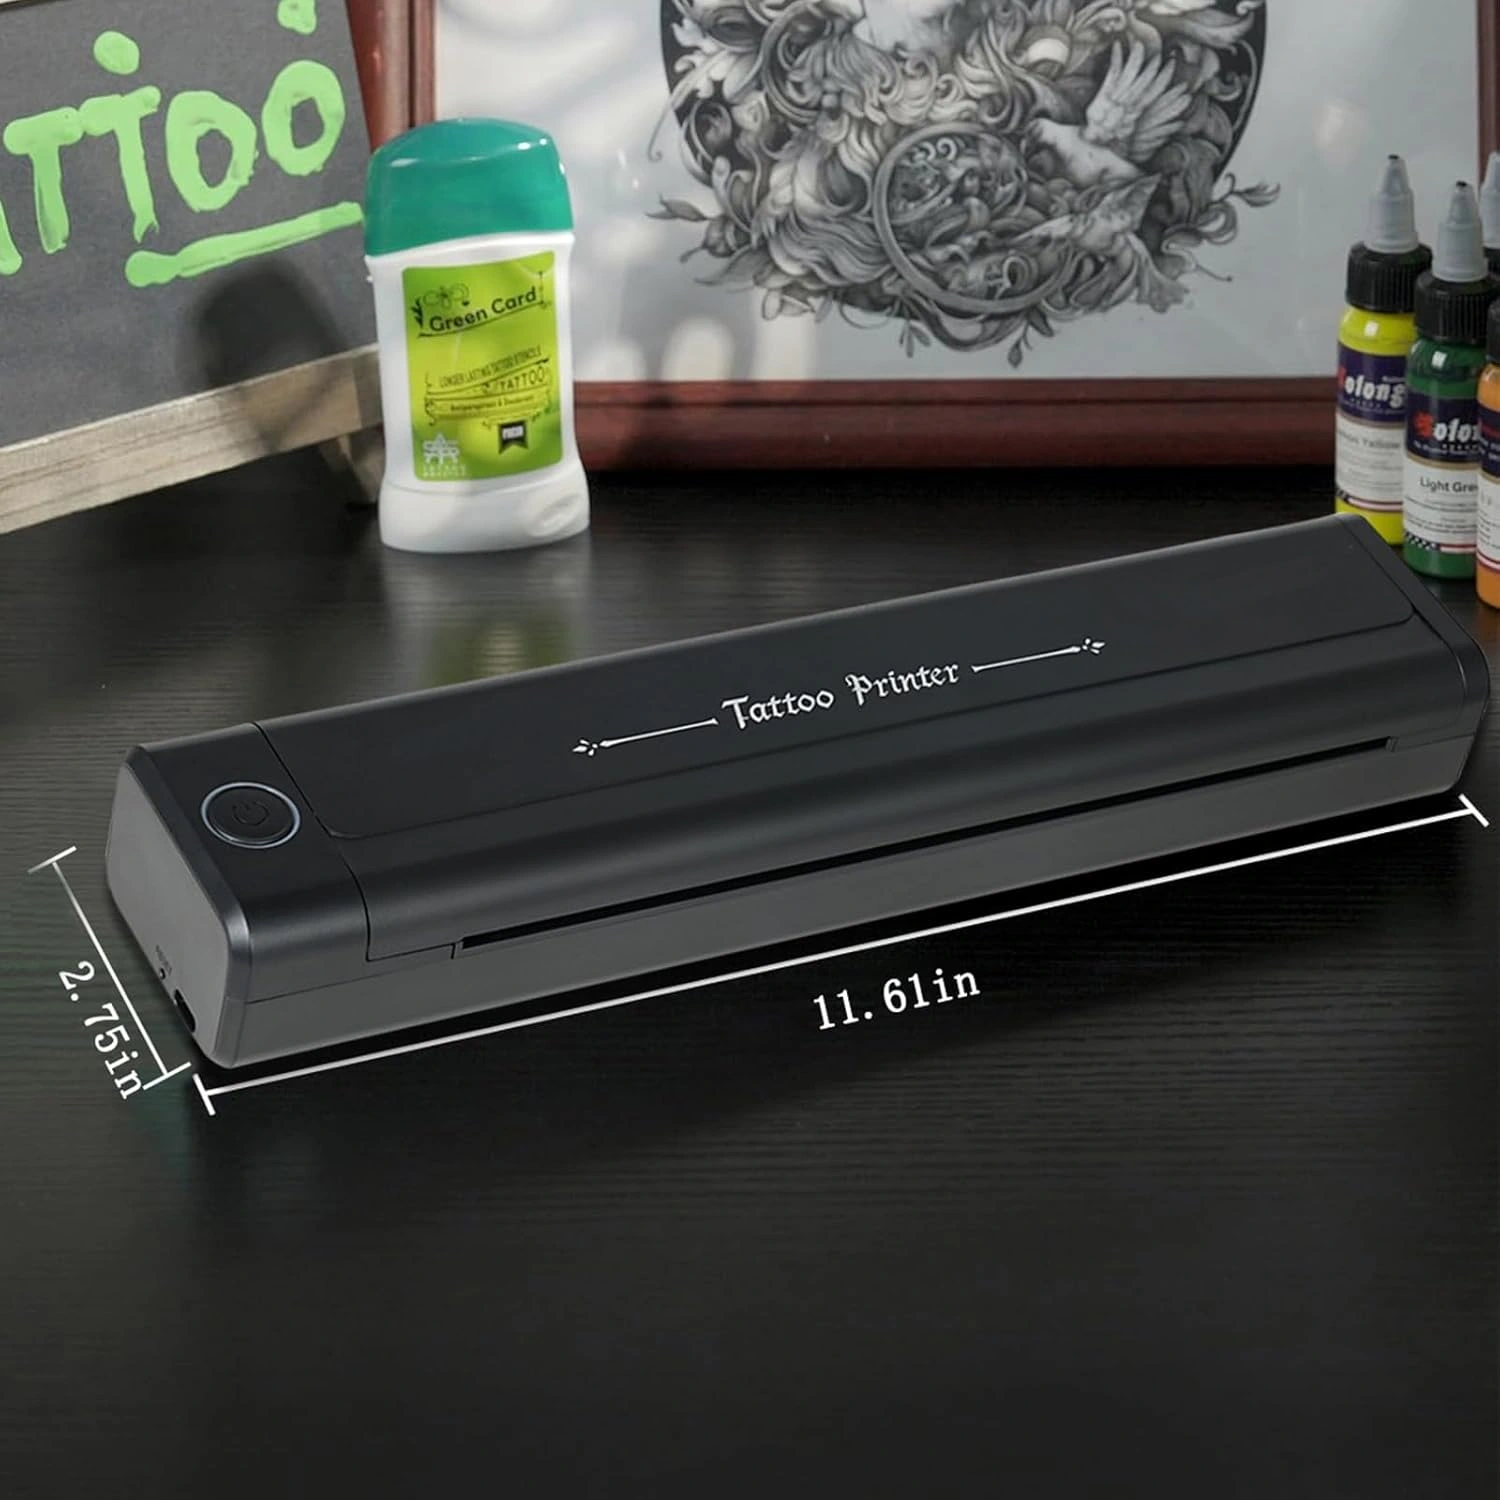
Why Use a Wireless Stencil Printer During Practice Sessions?
Getting the stencil in the exact right spot matters a great deal in pro tattooing work. Something like the Wireless Bluetooth Tattoo Stencil Printer makes sure designs transfer sharply onto fake skin without any blur. As a result, you can concentrate fully on doing the lines well. You won’t stress over smudges in the stencil or lines that don’t match up. By practicing how to place stencils, you train your eyes to spot balance and the natural flow in designs.
How Can Recording Tools Provide Actionable Feedback?
Use overhead cameras or even a smartphone to capture your practice sessions on video, and then watch the recordings to check your hand position, the angle of the needle, and how you hold your body overall. Going over the footage reveals small problems that you might miss while doing the work live. Things like uneven hand speed or tilting the machine too much become clear. This way, you track how you get better as time goes on.
What Should You Look for When Choosing Equipment from Your Kit?

As your methods grow stronger, your knowledge of the tools should expand too. Not every machine or needle works the same. Understanding which features affect how they perform and feel will guide you to smart picks. These choices support your skills as they develop further.
How Do Machine Features Influence Long-Term Comfort and Versatility?
Important things to consider include how the weight spreads out, the size of the grip, options to adjust the stroke length, and if it runs without wires. A machine that balances well cuts down on strain in your wrist during sessions that last a while. Being able to change stroke lengths means one tool handles both lining and shading. That makes practice more effective. Take models like the LOLA AIR Wireless Battery PMU Pen Machine, and it weighs just 85g. It includes three batteries. Those give you up to six hours of use. So, it’s perfect for training without breaks.
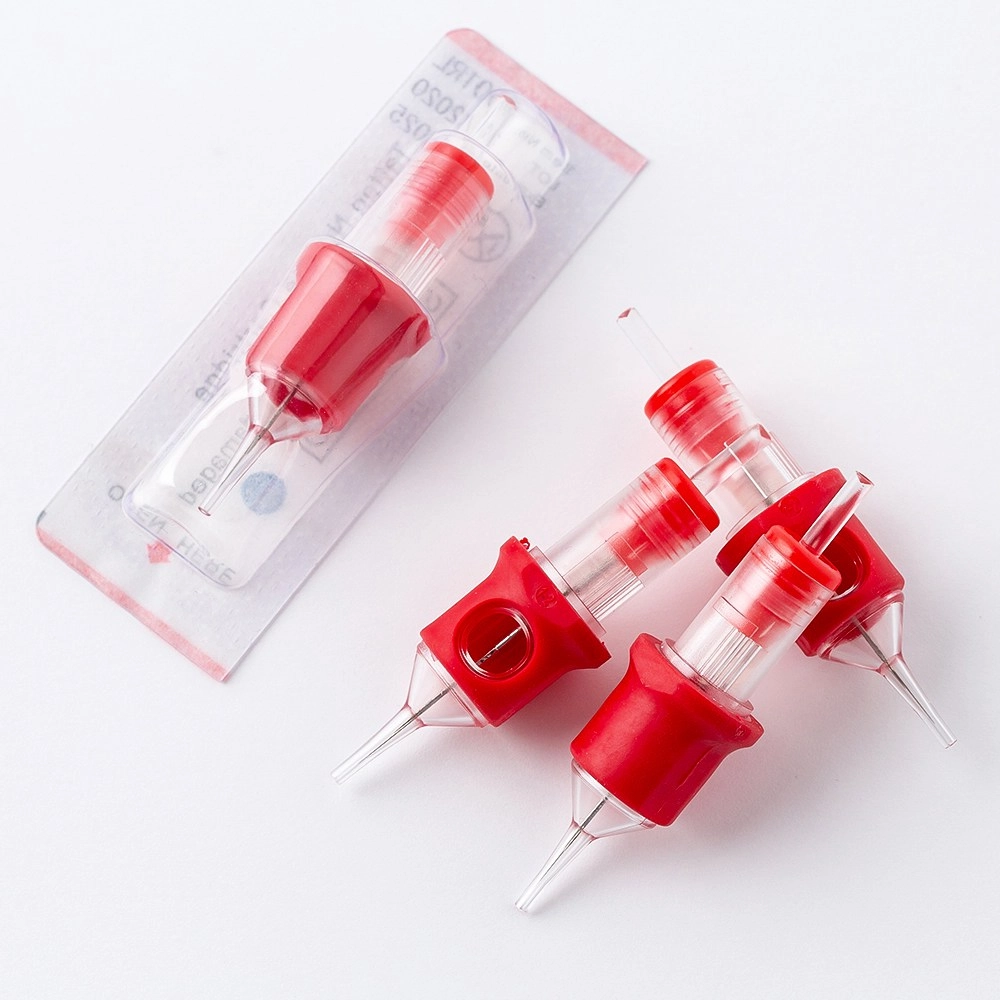
What Needle Cartridge Features Make a Difference in Practice?
The way needles are grouped changes how ink flows and how precise the application gets. Smaller groups, for instance, 3RL, fit best for thin lines. Larger ones, like 9RS or 13M, manage shading in a more effective manner. Cartridges with safety membranes, such as the Diamond PMU Needle Cartridges, stop ink from flowing back into the machine. This keeps the inside parts safe. It also gives you a neater experience during use.
What Are the Most Common Mistakes Beginners Should Avoid?
Moving forward doesn’t only come from doing things correctly. It also involves handling common traps with care. Knowing about typical errors for newcomers can save you time, supplies, and annoyance. This lets you form strong habits right from the beginning.
Why Is Overworking Practice Skin Counterproductive?
Going over the fake skin too many times leads to wrong ideas about how healing looks or how ink fills in on actual clients. On top of that, it wears out the material fast. So, it becomes less useful for sessions you plan later.
What Happens If You Skip Machine Maintenance?
If you don’t clean the machine or swap out needles after every time you use it, the needle might not act right. Over time, the whole machine could break down. Keeping up with hygiene builds pro habits. Those will make the clients’ work safer when you get there.
When Is It Too Soon to Attempt Complex Artwork?
Don’t rush into detailed portraits or big sleeve designs before you handle basic shapes and smooth gradients well. If you try fancy work without a strong base in skills, it often brings frustration.
Yaba: A Trusted Partner in Tattoo Training Tools
For those searching for dependable gear made for starters but strong enough for experts, check out what Yaba has available. They offer a wide range of items. This covers wireless tattoo machines, PMU pens, cartridges, fake skins, stencil printers, and even aftercare options. Yaba stands by you at every stage. That goes from being a new artist to becoming a skilled pro. They provide OEM/ODM services too. Use those if you want to create your own branded products.
FAQ
Q1: How long should I practice on fake skin before tattooing real clients?
A1: The time needed changes based on your own talent and effort. However, many experienced pros suggest months of steady daily work. Focus on lines, shading, and carrying out designs. Do this before you try real skin, and always under someone watching over you.
Q2: Can I reuse needles when practicing on fake skin?
A2: Reusing might look like it saves money at first. But it dulls the needles fast. That leads to practicing bad ways of working. For the best results and true feedback, grab new needles for each session you do.
Q3: What voltage should I use when practicing with a wireless tattoo pen?
A3: The right voltage depends on the pen’s make and what kind of task you’re doing, whether lining or shading. Wireless pens usually run from 5V to 12V. Start on the lower end, around 6V, for line practice. Then adjust it based on how it feels and performs during your sessions.