As a new tattoo artist, learning to use a tattoo stencil printer skillfully can improve your work. At Yaba Tattoo, we know reliable tools help artists create great designs. This guide explains each step of using a tattoo stencil printer clearly. It covers setup, use, and care. Whether you’re just starting or improving, this blog helps you use our Yaba Tattoo AIMO A4 Stencil Thermal Transfer Printer or Wireless Bluetooth Tattoo Portable Printer confidently.
Introduction to Tattoo Stencil Printers
Tattoo stencil printers are vital tools. They copy detailed patterns onto special paper. These patterns guide artists while tattooing. The tools save time and make work look neat. For new artists, knowing how to use a printer well can make you stand out. This section covers the basics of stencil printers and why they’re important.
Next, let’s see how to get your tattoo stencil printer ready for use.
Preparing Your Tattoo Stencil Printer
Good preparation leads to clear patterns. Setting up your printer right avoids mistakes. It also helps patterns transfer smoothly. Let’s look at what you need to start.
Essential Tools and Materials Needed
First, collect these items for a smooth setup:
- Tattoo Stencil Printer: We suggest our Yaba Tattoo AIMO A4 Stencil Thermal Transfer Printer. It’s accurate and simple to use.
- Special Paper: Get high-quality paper made for tattoo patterns.
- Design Program: Use software like Adobe Photoshop or Procreate to make or edit patterns.
- Cleaning Items: Have alcohol, soft cloths, and a small brush for upkeep.
- Power Cord and Cables: Check they match your printer model.
These tools make printing easier and better.
Setting Up the Printer for First-Time Use
To start using your printer, do these steps:
- Unpack and Check: Look for damage. Make sure all parts are there.
- Plug It In: Connect the printer. See if it turns on.
- Add Software (if needed): For models like our Wireless Bluetooth Tattoo Portable Printer, install apps for wireless use.
- Try a Test: Print on regular paper to check if it works.
Now your printer is set. Next, create a pattern for your stencil.
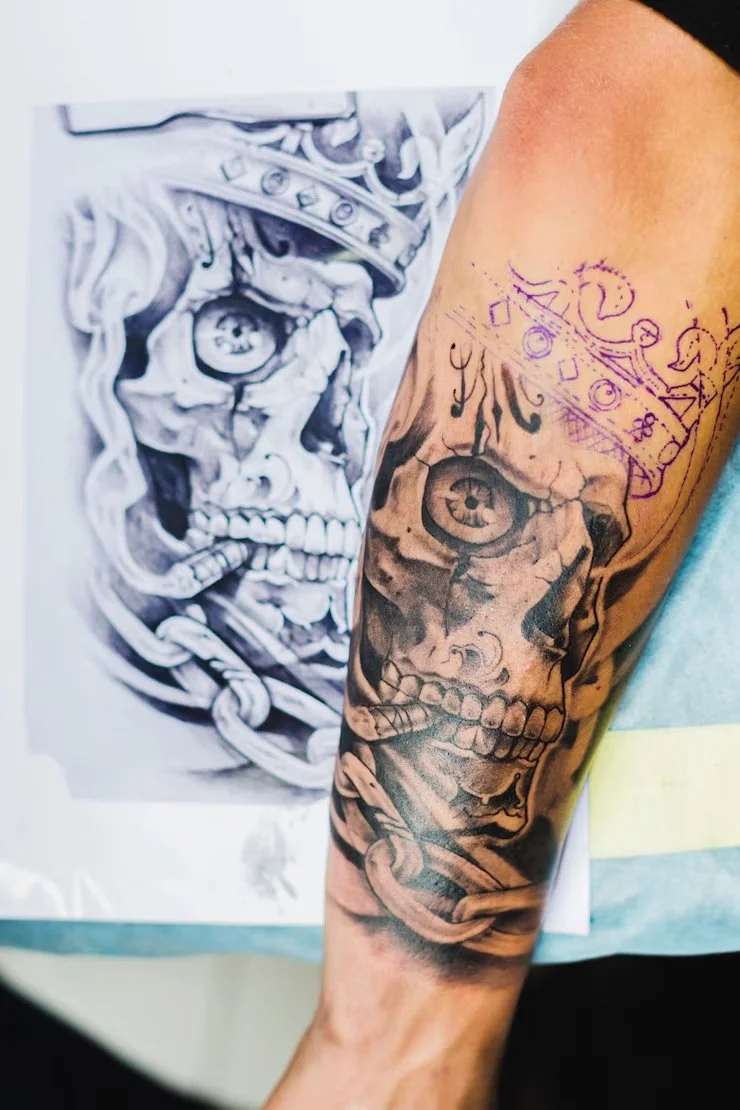
Creating a Design for Your Tattoo Stencil
Your pattern’s quality affects the stencil. A good pattern ensures clear and exact results on skin. Let’s learn how to pick and tweak your pattern.
Tips for Choosing the Right Design
Picking a good pattern matters for looks and printing. Try these ideas:
- Keep It Simple: Beginners should use bold, clear lines. This prevents fuzzy prints.
- Talk to Clients: Work with clients to match their ideas.
- Use Strong Contrast: Make sure the pattern stands out clearly.
- Fit the Size: Match the pattern size to the body area.
Adjusting Design Size and Details for Printing
After picking a pattern, prepare it for printing:
- Choose Good Software: Use programs like Photoshop or Illustrator for exact changes.
- Set High Quality: Use 300 DPI for sharp details.
- Thicken Lines: Lines should be at least 0.5mm wide. This stops fading.
- Test the Size: Print a draft on plain paper. Check if it looks right.
With your pattern ready, you can now print the stencil.
Printing the Tattoo Stencil
Printing a clear stencil needs care and the right method. This part explains how to load paper and print neatly.
Steps to Load Thermal Paper into the Printer
Loading paper correctly gives accurate stencils. Do these steps:
- Open the Paper Slot: Find the paper area in your printer’s guide.
- Put in Special Paper: Place paper with the dark side facing the print part.
- Line Up Paper: Keep paper straight to avoid jams.
- Close the Slot: Lock the slot. Check if paper moves smoothly.
Printing Techniques for Clear and Accurate Stencils
For a great stencil, follow these tips:
- Pick Right Settings: Set the printer for strong contrast and dark prints.
- Check the Pattern: Use the printer’s program to see if it’s lined up.
- Print Slowly: Slow speeds help with detailed patterns.
- Look at the Result: Check the stencil. Fix any issues.
Now you have a stencil. It’s time to put it on the client’s skin.
Applying the Tattoo Stencil to Skin
Putting the stencil on right makes the pattern stay clear while tattooing. Good skin prep and transfer methods are key.
Preparing the Skin Before Application
Get the client’s skin ready for a strong stencil:
- Clean the Spot: Use alcohol to wipe away dirt and oils.
- Shave if Needed: Remove hair for a smooth area.
- Dry Well: Make sure the skin is fully dry.
Transferring the Printed Stencil Onto Skin
To transfer the stencil perfectly:
- Use Transfer Gel: Apply gel or stick deodorant to the skin.
- Place the Stencil: Set the stencil carefully. Line it up well.
- Press Firmly: Hold it down for 10–15 seconds.
- Peel Gently: Lift the paper slowly to avoid smears.
After applying the stencil, keep your printer in good shape for future use.
Maintenance and Care of Your Tattoo Stencil Printer
Regular care keeps your printer working well. It ensures steady results. Let’s see how to maintain your tool.
Cleaning and Maintaining the Printer Components
Keep your printer clean with these steps:
- Clean the Print Part: Use alcohol and a soft cloth to wipe away dirt.
- Check Rollers: Make sure rollers are clean to avoid paper jams.
- Store Safely: Keep the printer in a clean, dust-free place.
Troubleshooting Common Issues
Here are common problems and fixes:
| Problem | Fix |
| Fuzzy Prints | Change settings or clean the print part. |
| Paper Jams | Check paper position. Clean rollers. |
| Light Stencils | Boost contrast or use better paper. |
For more help, contact our team at Yaba. We’re here to assist.
Best Tattoo Stencil Printer
The best tattoo stencil printer fits your needs. At Yaba, we offer two great choices. Try the Yaba Tattoo AIMO A4 Stencil Thermal Transfer Printer for busy shops. Or use the Wireless Bluetooth Tattoo Portable Printer for travel. Both give clear, reliable results. They’re perfect for new and experienced artists.
Let’s talk about why Yaba is the best choice for tattoo tools.

Yaba: A Trusted Supplier of Tattoo Stencil Printers
At Yaba Tattoo, we’re proud to supply top-notch tattoo tools. Based in Jinhua, China, we bring years of skill and new ideas to artists worldwide.
Why Choose Yaba for Your Tattoo Equipment Needs?
Artists trust us because:
- High Quality: We test our products to meet high standards.
- Custom Options: We offer branded tools through OEM/ODM services.
- Great Support: Our team helps with setup and fixes.
- Fair Prices: We offer top tools at good prices.
Features of Yaba’s Reliable Tattoo Stencil Printers
Our printers are made for artists:
- Wireless Use: Our Bluetooth printers work easily with phones.
- Clear Prints: Get sharp, detailed stencils every time.
- Small Size: Portable for artists who move around.
- Easy Controls: Simple buttons help beginners.
Conclusion
Learning to use a tattoo stencil printer well is key for new artists. Follow these steps: prepare your printer, make and print patterns, apply stencils, and care for your tool. You’ll get great results easily. At Yaba, we support you with top tools and advice. Start making amazing tattoos with our tattoo stencil printers today.
FAQs on Using a Tattoo Stencil Printer
Q1 What type of paper should I use with a tattoo stencil printer?
A1 Use special paper made for tattoo stencils. It gives clear, strong transfers to skin. Don’t use regular paper. It doesn’t have the right layer for good stencils.
Q2 Can I use any design software to create tattoo stencils?
A2 Yes, most programs like Adobe Photoshop, Illustrator, or Procreate work well. Make sure they support high-quality outputs (300 DPI). They should also let you adjust lines and contrast easily.
Q3 How do I fix blurry or unclear stencil prints?
A3 Fuzzy prints can happen for a few reasons:
- Dirty Print Part: Clean it with alcohol.
- Wrong Settings: Set higher contrast or slower speed.
- Bad Paper: Use high-quality paper for better prints.
If problems continue, contact our support team. We’ll help you.